Irregular Gloss on Oil Paint and Varnish

An irregular sheen on an oil painting often produces a patchy gloss after applying the varnish. This article considers how to fix this on an existing painting and how to avoid it in the future.
An irregular sheen on an oil painting is often linked to painting with high pigment volume concentration (PVC), which occurs when the oil in freshly applied paint “sinks” into the underlying substrate. “Sinking in” is a common phenomenon among oil painters and is one of the most frequent issues encountered while teaching artists in my Painting Best Practices workshop. The causes of sinking in can be reduced to the following:
Excessive Use of Solvents. This is one of the problems with using solvents in oil painting. Solvents reduce oil viscosity, making it easier for oil to be absorbed by the underlying substrate. Oil sinks into the layer below increases the PVC of freshly applied paint, causing air voids in the paint film as it dries and creating a rougher surface texture. The rough texture, in turn, scatters more light causing a dull matte appearance, which should otherwise be satin to glossy. Reducing or avoiding solvents altogether helps to eliminate sinking in and patchy sheen.
Excessively Absorbent Grounds or Support. One way to avoid non-uniform gloss is to paint on less absorbent grounds. Most artists never consider the importance of the ground in this way and how it affects the overall painting, but that is the same as failing to properly consider the foundation of a house. The ground is as important and perhaps more critical in some aspects than the upper paint layers. Excessively absorbent grounds can cause oil paint to sink in. Many artists paint on the grounds that are too absorbent. Acrylic grounds, for example, are very absorbent and are often excessively absorbent for oil paint, yet it is one of the most widely used grounds for oil paintings. Oil grounds are typically less absorbent than acrylic grounds. The grounds of pre-primed canvases—even those with oil grounds—are often very absorbent. Painting on oil grounds reduces the phenomenon of sinking in. Applying additional coats of an oil ground to an existing ground reduces its absorbency and the potential for sinking in.
Sinking Colors. Certain pigments are more prone to cause sinking in than others. Umbers usually come to mind when painters think of colors that sink in. These pigments contain a larger volume of oil than most pigments used today in oil painting and therefore have a lower critical pigment volume concentration (cPVC). The amount of oil required to wet and envelop pigment particles is greater and hence, is likely to be readily absorbed by the underlying layer, resulting in a matte and usually non-uniform appearance to dried paint films. Does this mean you must stop using your favorite umber or other pigments readily sink in? Not at all. Increasing the viscosity of oil in these colors or adding high viscosity oil to these colors usually prevents sinking in. The larger size of the polymeric molecules of high viscosity oils (such as bodied oil or stand oil) do not easily fit into the microporous structure of the surface below and are retained on the surface. Adding only a small amount of bodied oil, even as little as 20% by volume, to the color helps prevent sinking in.
| Tip: To avoid sunken colors, and hence a patchy sheen in future paintings, don’t add solvents to your oil colors, paint on less absorbent grounds and avoid colors that sink in, or add a small amount of bodied oil to those colors. |
To correct dull, matte areas on an existing painting, artists often apply or rub oil or oil-based mediums in the dull areas and allow them to dry (or paint into it while wet). This process called “oiling out” (or sometimes “oiling in”) has the disadvantage of eventually yellowing and darkening the areas of the painting where the thin layer of oil has been applied. This is not a problem when more paint is applied over the area but can be when it is the final layer of a painting. If the completed painting has a patchy appearance, the best remedy is not to oil out but to correct the sheen with a varnish.
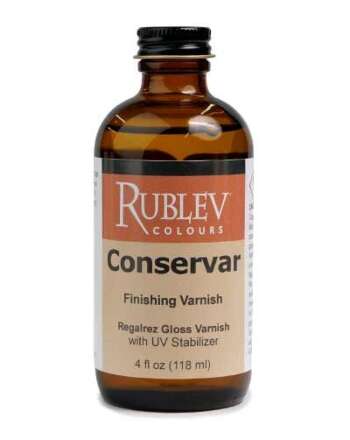
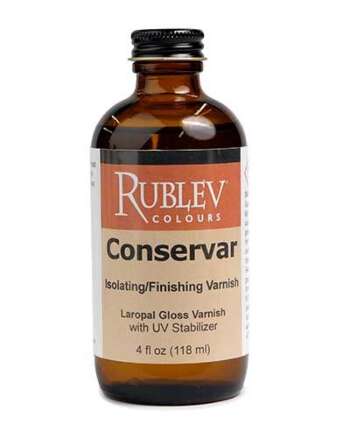
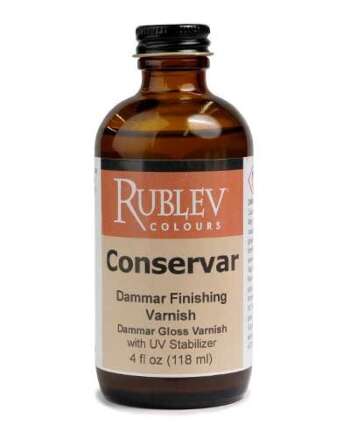
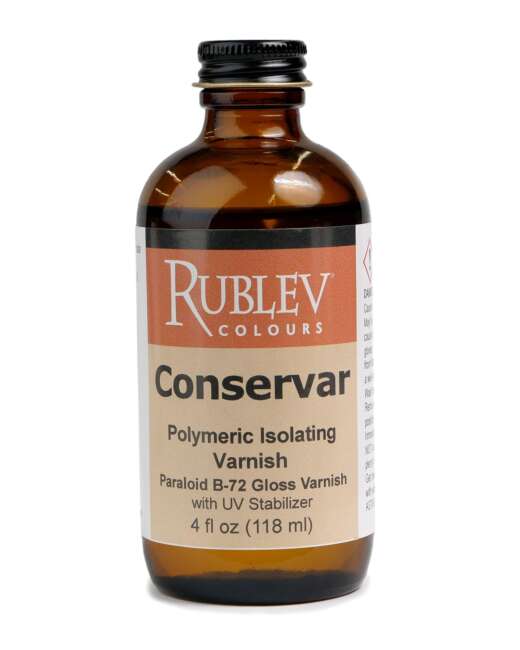
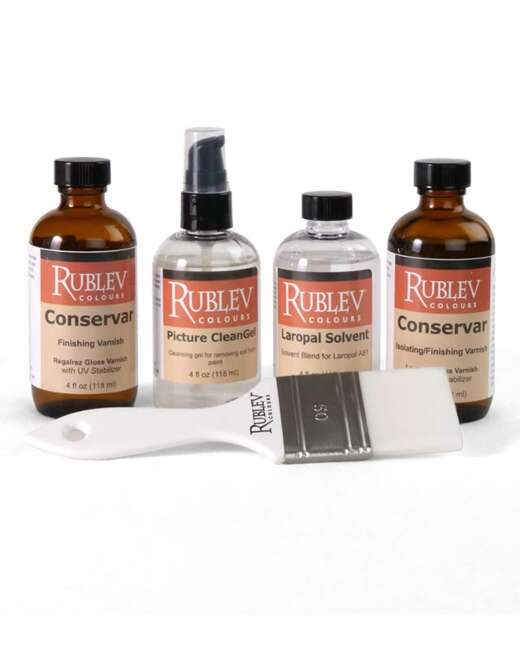
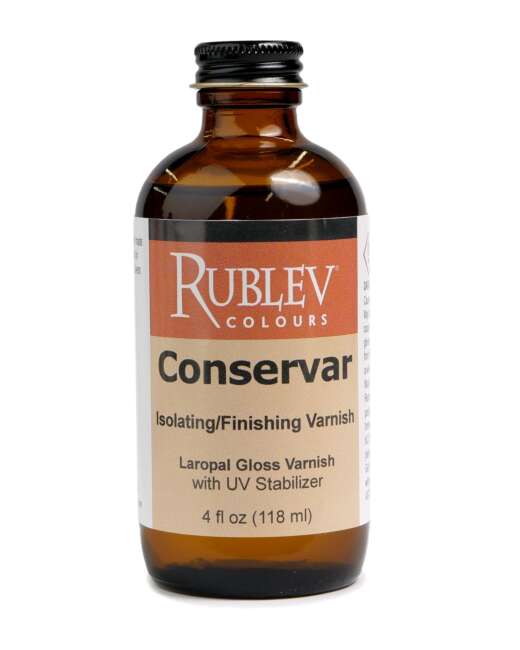
Dull matte areas of a painting are not always remedied when applying a varnish uniformly over the entire painting. Some varnish resins, such as Regalrez 1094 resin used in the widely popular varnish Gamvar by Gamblin Artist Colors, Conservar Finishing Varnish, and other brands, are prone to sink in because of this low molecular weight (LMW) resin. Applying more coats of the same varnish does not always correct a patchy sheen. Often dull matte areas can only be remedied by polymeric or polydisperse varnishes consisting of high molecular weight (HMW) resins. Examples are acrylic varnishes, such as Golden Artist Colors MSA Varnish, which contains polymeric (methyl acrylate) resins, and Conservar Isolating / Finishing Varnish by Natural Pigments that contains a polydisperse resin (Laropal A81).
You may ask, what if I like the appearance of Gamvar on my painting, but if it does not correct the patchy sheen on my painting, what can I do? The answer is to apply two coats of varnish: one that corrects the non-uniform gloss of the painting as an “isolating varnish,” and the second Gamvar or another varnish containing Regalrez 1094 as the final picture varnish. The final varnish layer gives a painting its ultimate appearance.
An example of this practice is to apply Conservar Isolating / Finishing Varnish (containing the polydisperse resin Laropal A81) as the first coat to provide a uniform sheen to the painting. Follow this with a second coat of Gamvar or Conservar Finishing Varnish (also containing Reglarez 1094) over the isolating or first coat for its final appearance.
Where to Varnishes In This Article
There is a Conservar Varnish Ideal for Every Painting
Conservar Varnishes
Conservar Varnish Kits
| ||
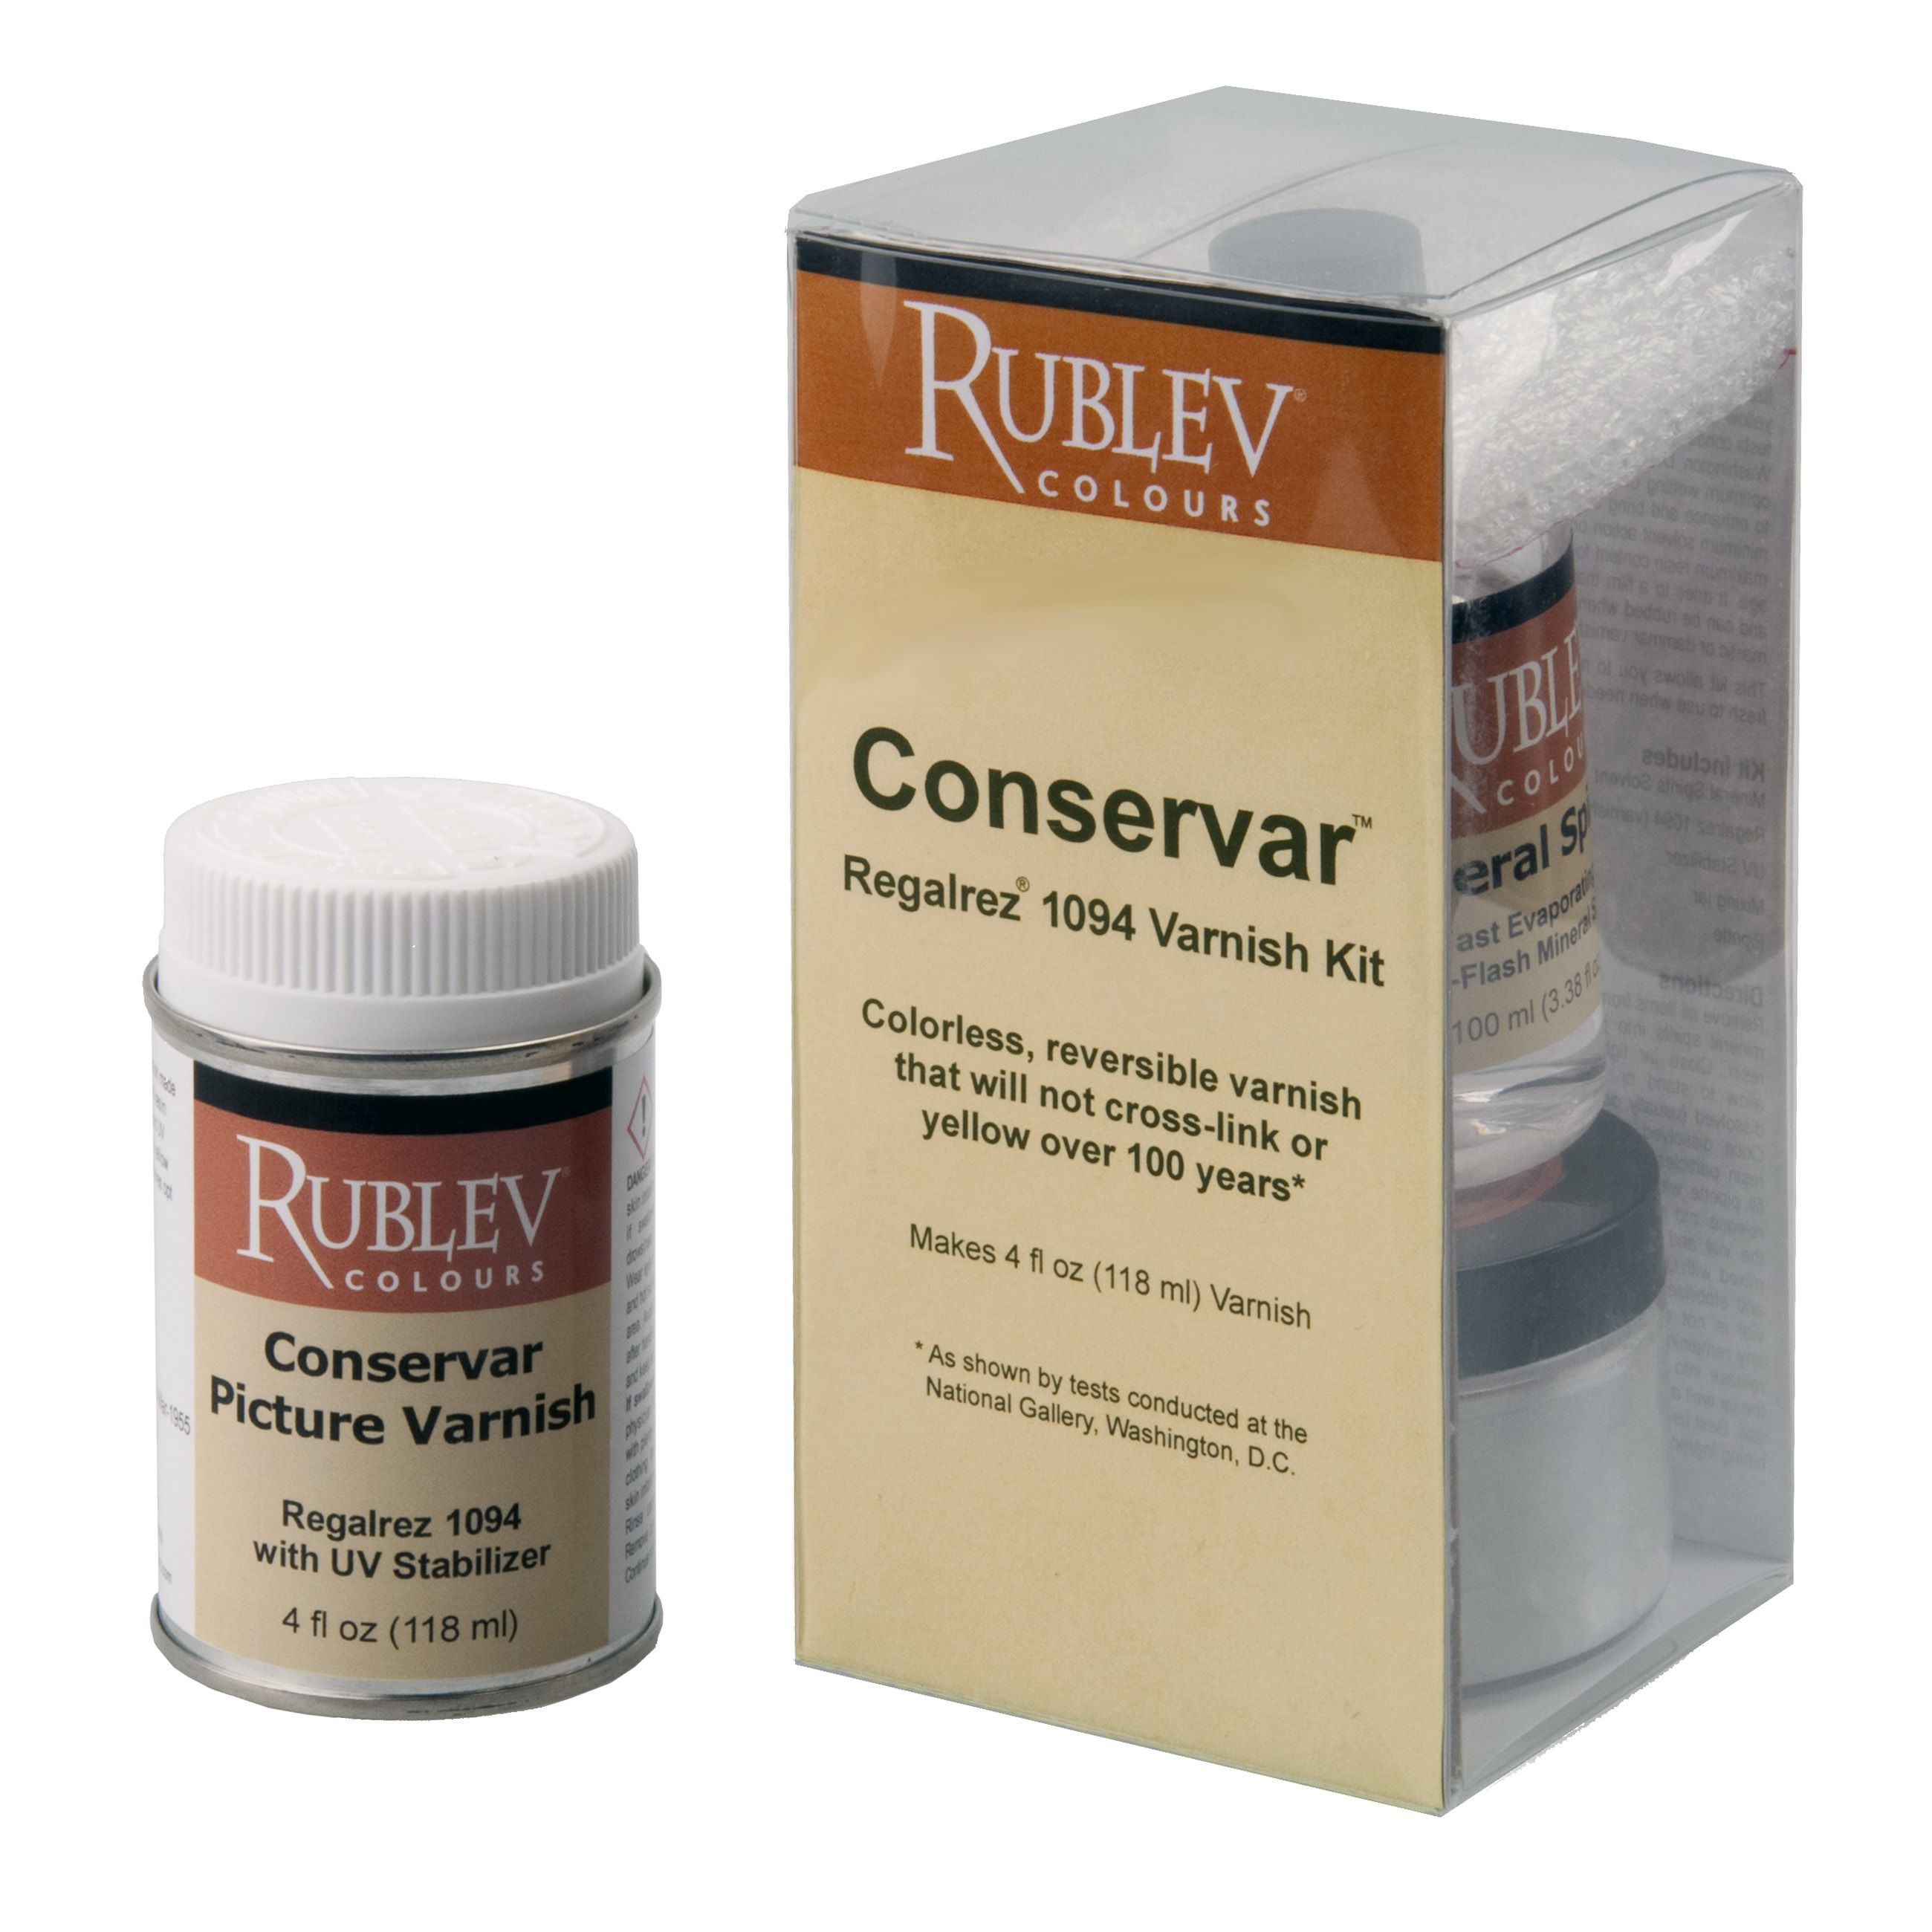
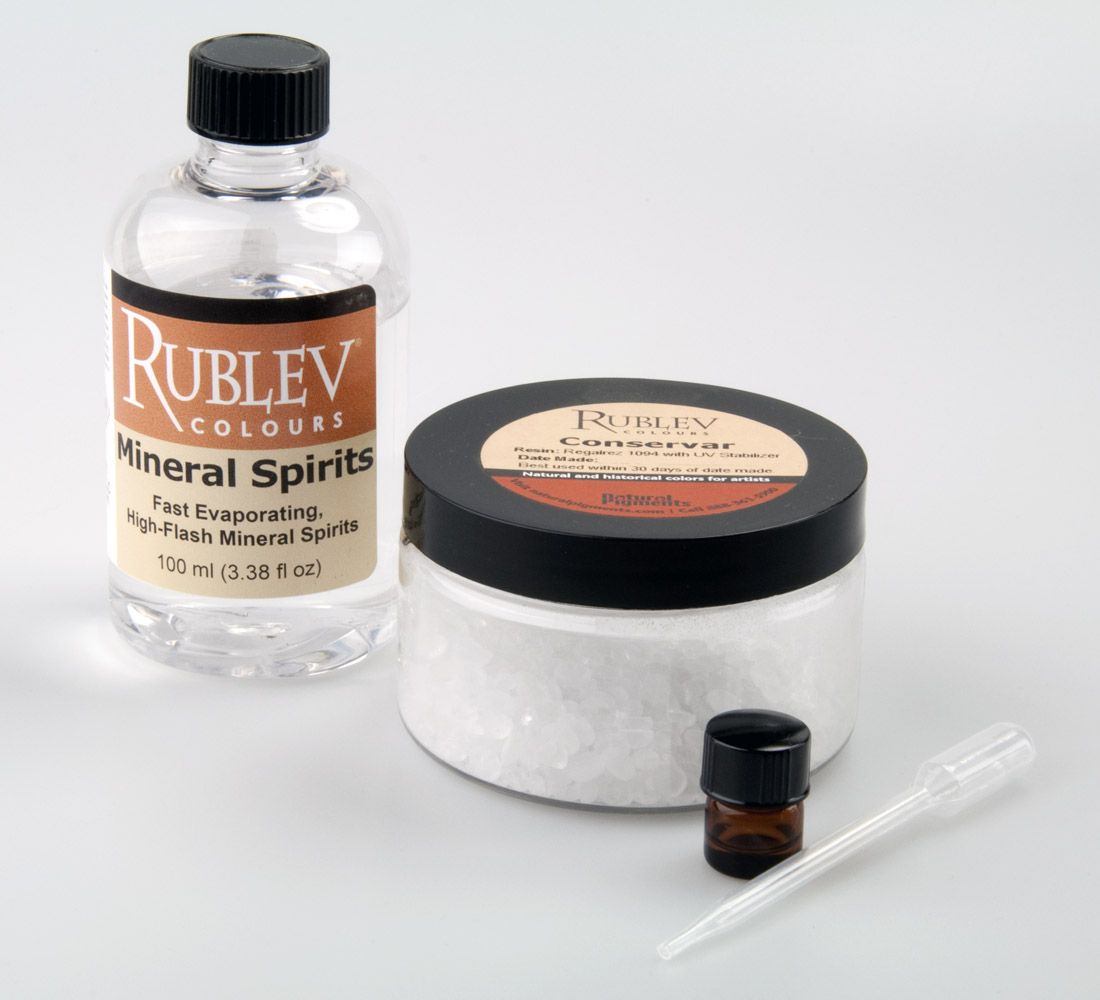
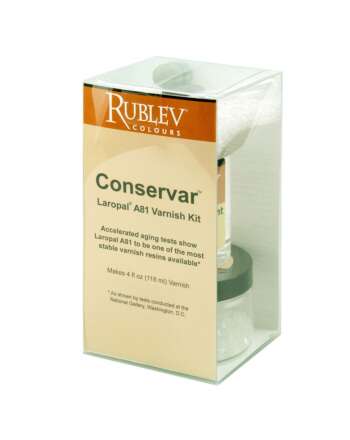
Conservar Varnishes are also available as kits. |
Further Reading
Read Selecting the Right Varnish for Your Painting for more information about varnishes and applying varnishes.
Read Painting Best Practices Workshop for more information about the workshop discussed in this article.
Trademarks mentioned in this article are owned and registered by their respective owners.


